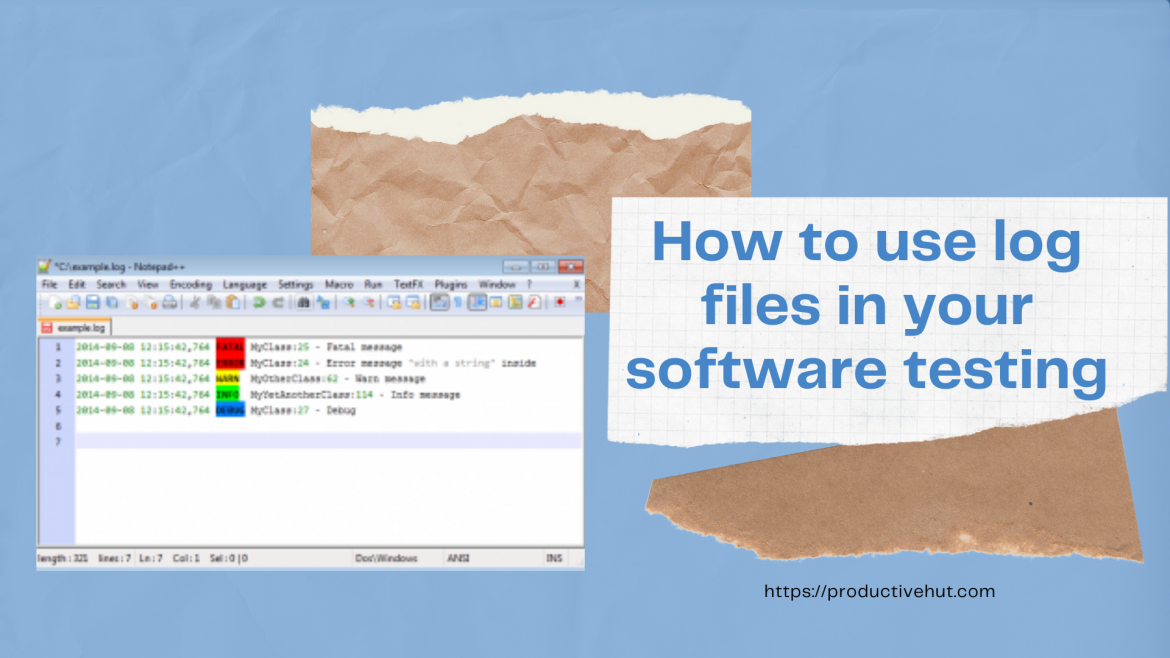
Effective Use of Log Files in Software Testing
Log files are a pivotal yet underutilized tool in the testing landscape. Despite their importance, many software engineers struggle to harness their full potential.
This article sheds light on leveraging log files optimally within software testing. It delves into the essence of log files, their structure, configuring them, and understanding different log levels.
Understanding Log Files:
A log file contains a chronological record of events processed by a computer system. These logs serve as a digital journal capturing system activities, errors, and messages.

How Log Files Function:
Log files play a crucial role in identifying system malfunctions and tracking server activities, especially in complex systems with minimal human interaction.
Configuration of Log Files:
Configuring log levels is vital. Each level (ALL, Info, Debug, Error, Warn, None) captures specific messages, offering distinct insights into system behavior. However, setting log levels too high can impact system performance.
Best Practices:
Adjust log levels carefully to balance information capture and system load. Analyze log files for comprehensive understanding, troubleshoot issues, and craft efficient test cases.
Maintenance:
Regularly monitor log files, noting their size. When they reach the maximum size, a new log file is created. Log files aid in identifying errors and guide investigations for effective problem-solving.
By mastering log files, testers gain invaluable insights into system behavior, paving the way for robust and efficient software testing practices.
Have you found this article helpful?
Share your thoughts in the comments and join our Productive Hut community for more insights and discussions!


5 Comments
Woah! I’m really enjoying the template/theme of this site. It’s simple, yet effective. A lot of times it’s tough to get that “perfect balance” between usability and appearance. I must say you’ve done a amazing job with this. Additionally, the blog loads super fast for me on Firefox. Exceptional Blog!|
I would like to thnkx for the efforts you have put in writing this site. I am hoping the same high-grade web site post from you in the upcoming also. In fact your creative writing abilities has inspired me to get my own website now. Actually the blogging is spreading its wings fast. Your write up is a great example of it.
Hi,
I’m glad you liked the blog.
You are welcome to Productive Hut all the time!
First off I want to say excellent blog! I had a quick question in which I’d like to ask if you don’t mind. I was interested to know how you center yourself and clear your mind before writing. I’ve had a hard time clearing my mind in getting my ideas out. I truly do take pleasure in writing but it just seems like the first 10 to 15 minutes are wasted simply just trying to figure out how to begin. Any recommendations or hints? Kudos!|
Hi Lenard,
Each idea for the post I write down in the notebook, with time the ideas are pill up. I love work in the early morning before all family is wake up and the workday is beginning. These morning hours I feel more concentrate and much easy for me to focus on a post writing. I hope my answer is helping you. Regards, Natalya