How To Use Wireshark Filter Protocol as a Network Monitor
Do you have distribution applications in your project such as Client/Server, network troubleshooting, or communications protocol, you are probably testing with one of the most common tools in the market Wireshark.
Wireshark open-source tool that you can download even to your private computer.
The tool is a sniffer that works as an open-source packet analyzer, it is available to display all network traffic.
Wireshark is a tool application that works with the structure of different networking protocols, for example, TCP/IP, UDP, and HTTP including Ethernet, PPF, and loopback.

It runs on various operating systems– UNIX, Linux, and Windows.
The tool could run in every development and testing unit and it doesn’t take a lot of resources from your computer.
Most of the Wireshark software testing users are system administrators and networking testers.
For my project, we use the Wireshark filter protocol not only to test the network and communication but also for the system internal processes testing.
Distributed application- the Wireshark capture filter could be a very good solution for monitoring all messages passing in the network.
Critical system testing a Wireshark sniffer is a solution to real-time and online testing, but before you start to use the Wireshark there are some things that you should know :
– If you are testing the product in a workstation including devices as Client/Server and Simulator, it’s preferable to install Wireshark as a separate unit (it could be a regular PC) for saving a clean testing environment.
– Before the testing system internal process, you should configure the Wireshark capture filter to the relevant protocols and ports.
– The development department should create dissectors that will be appropriate to the testing process. Dissectors should analyze some parts of a packet’s data.
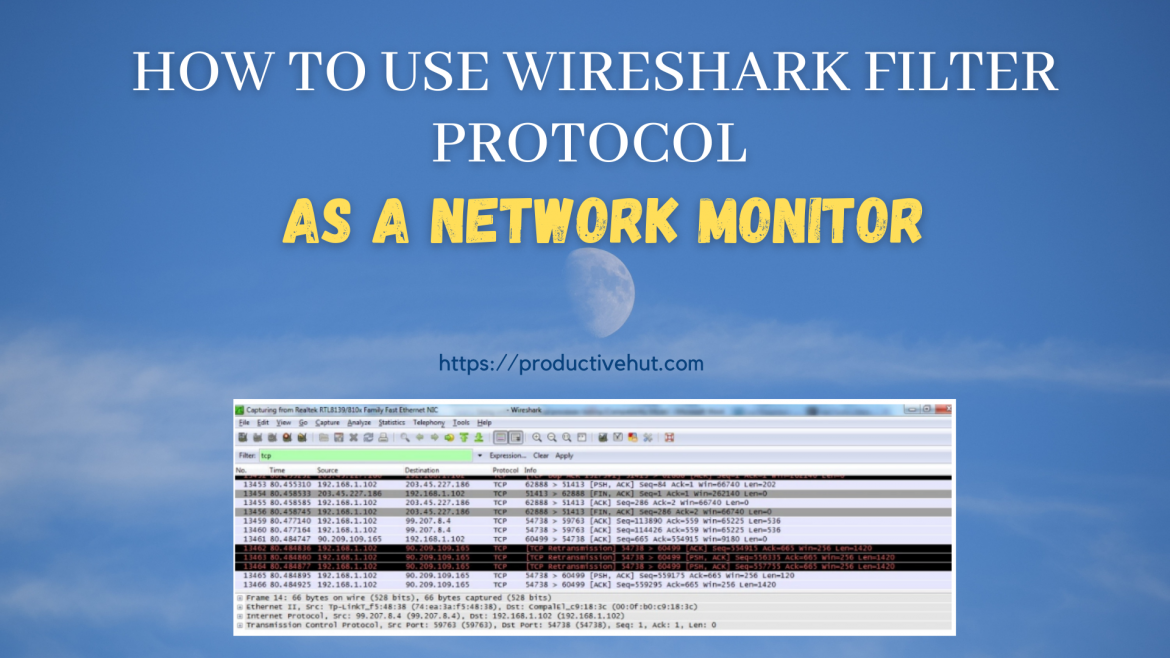
See how you can use the Wireshark network protocol analyzer to monitor messages.
1. Download and install the recent version from the official Wireshark site: http://www.wireshark.org/
2. Run the Wireshark for the first time. If you are currently using Windows 7, you should run the software as an administrator.
3. Press the List the available capture interfaces button
4. In the capture interfaces window, select the relevant network and press Start
5. In the Filter field, select the module name that you are testing.
6.The name should be the same as the dissector name then press Apply.
After Apply you should see all messages are sending in a network according to the selected module name.
To filter one or more parameters in the message, for example, right Click on Destination Port -> Apply as Filter -> Selected.
In this way, the tester can monitor all messages in the network or filter them as he wishes.
I recommend preparing in advance the list of the operation codes (opcodes) to all messages; it may help in the right filtering and make work much easier.
Become a part of the Productive Hut Family and join our vibrant community!


4 Comments
Hi! Do you use Twitter? I’d like to follow you if that would be ok. I’m definitely enjoying your blog and look forward to new posts.
Hi Barbara,
I’m happy to hear that you are enjoying my blog,
The truth I’m not currently using Twitter but I’m seriously thinking about it. Please subscribe to my blog and you will receive notifications about my new posts.
Natalya
Pretty nice post. I just stumbled upon your blog and wanted to say that I have really enjoyed browsing your blog posts. After all I will be subscribing to your feed and I hope you write again soon!
Hi Norris,
I’m glad to hear that you like it!
Kind regards,
Natalya